Since I came back from my trip to Scotland, I have not had the chance to process any of the images. I have a workflow that I like to stick to and that includes working my way through each shoot in chronological order. This is just the way I prefer to approach my processing.
However Martyn, who was on the Scotland shoot, has started to process his images and would like to know if I had any issues in obtaining good results from the images that I took. The day he was talking about in particular was the afternoon we spent on the eastern side of Loch Lomond. The light was incredible. It was a very hazy day with light clouds continually drifting across a watery sun which meant that within the space of a few minutes, the whole of the ambience at the Loch would change.
Martyn has posted an image on Flickr and I think it is a very good atmospheric photograph. He has pulled out some colours in the sky and has made a brooding image, with heavy clouds and still water. This was his vision of the picture and he tailored his processing accordingly.
This is Martyn’s image.

I had a look through my RAW images from the day and found one that was taken from almost the same vantage point that Martyn took his from and decided to process it.
This is the Raw Image

It was taken on a Nikon D800 with a 24-120 f/4.0 zoom lens at a 48mm focal length. Then shutter speed was 1/200 at f/13.0
I use Lightroom 5 to administer my image database and also for various parts of my processing workflow
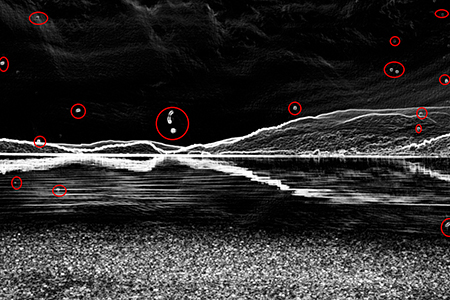
The first thing I did was to inspect the image for dust bunnies. I clicked on the Spot Removal tool and then clicked ‘Visualize Spots’. This is a great tool to help find the marks and bits of detritus that may have found their way on to the camera sensor.

Boy did I find them. I think it’s time the D800 had another sensor clean. I had checked before I went to Scotland – f/22.0 against the sky – and then a good magnified look – and although there were a couple of spots I didn’t think it was too bad. I gave the sensor a blow with air and went on the trip. Looks like I should have cleaned the sensor properly.
So I started work with the Spot Removal tool in Lightroom and got rid of the marks. It was fairly straight forward, but if I had found some difficult to rectify I would have imported into Photoshop to use the Clone tool or the Spot Healing brush.
Once I had got rid of the bunnies I went to Lens Corrections and enabled the profile corrections for the lens and camera. I then went to Camera Calibration and ticked the profile I normally use for the D800 and colour shots.
I decided to crop the image on the left hand side to a 10 x 8 size and to give a more pleasing composition. I adjusted the exposure, whites, blacks, shadows and highlights in the basic panel I then slightly darkened the sky with the graduated filter tool and did the same for the foreground. At that point I imported the image into Photoshop 6.
I then used fifteen or so adjustment layers to burn in and dodge the various parts of the image that I thought needed to be brought out more. Once that was complete I used the NIK Color Efex plugin to set selective tonal detail and sharpening again using layers. In Nik I also set global contrast and removed any remaining colour tint.
I then found I needed to enhance the luminance of the sky and water so enhanced that again using layers and various opacities.
Below is the finished image.

It has a different feel to Martyn’s, but neither is right or wrong – just different, according to our vision for the scene.
©live

Great article Clive. I love both shots and for different reasons…proves your point.
LikeLike